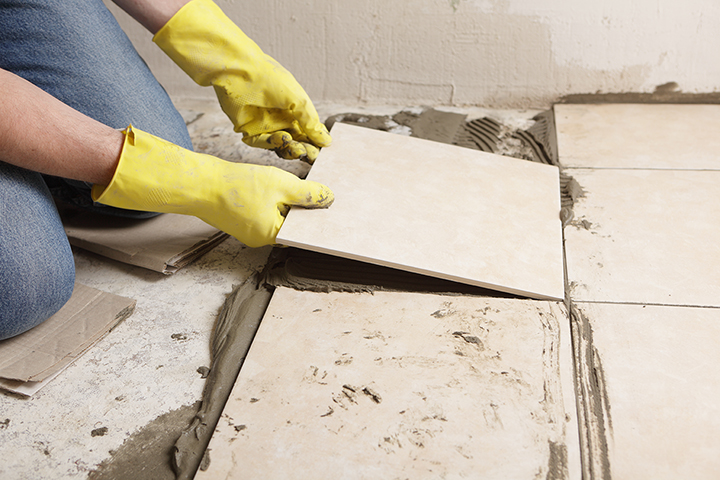
If you are like many, this New Year has brought you a new list of “To-Do” items. If installing a ceramic tile floor is one of those “To-Do’s” here is a list of instructions on how to do it! At Action Rental & Sales Equipment Division, we have the tools you need to turn your next “To-Do” item into a “Done” item!
Step 1: Before you begin, get a general sense of how level the floor is. If you see any deep holes or dents, it might be necessary to prepare some quick-drying, self-leveling cement from a hardware store. Pour the cement mixture into any deep trenches and let it sit for at least 24 hours.
Step 2: Once the floor is level, chip away any old mortar and then thoroughly clean the surface. To make sure the surface is truly clean, you will probably need to do this more than once. Remember, the less dirt on the floor, the easier it will be for the cement to form a strong seal between the tile and ground. Next, remove any trim or other fixtures around the wall at floor level. Make sure to check and see if you have enough clearance by stacking two tiles on top of each other near any doors.
Step 3: Now that the surface is clean, lay out and diagram exactly how you want the tile to be placed. Measure the dimensions of the room, and pick a spot in the center to start. Use blue chalk to mark a cross pattern into the floor. Work your way out from the center. This will save you time so that you are using mostly whole tiles and only have to cut the ones that will be placed along the wall edges.
Step 4: You will want to get the mortar to a peanut-butter like consistency. You can do this by adding water. Helpful Hint – prepare small batches as you go as the mixture hardens as time passes. An easy way to do this is by attaching a paint-mixing bit to an electric drill. Use a notched floor trowel to scoop out a glob and spread it evenly across the floor using the flat side. You don’t need a lot but enough to evenly coat the floor. Once the area is covered, flip the trowel and use the grooved side to spread it at a 45-degree angle.
Step 5: Spread tile adhesive on the back-side of the tile in a fairly thin layer. This application, along with the trenches on the floor, will ensure a permanent and strong bond between tile and ground. Gently place (do not slide) the tiles. Use spacers to maintain constant grout lines if you prefer, but it is also fine just to eyeball it. Repeat until all whole tiles have been placed. Once you hit a wall or a space that requires a cut tile, simply measure out the dimensions and use a tile cutter to form the proper shape.
Step 6: Once the floor is completely covered, mix the grout to a frozen-yogurt-type consistency, keeping in mind that small amounts go a long way. You want the grout to fall into the spaces you’ve left between the tiles yet, still be easy to spread. Next, place some of the grout on the tiles and use a grout float to spread it evenly around. Make sure there aren’t gaps or bubbles. Scrape off any excess by wiping diagonally across the tiles. Follow the scraping with a wet sponge. Helpful Hint – Have a bucket filled with water on hand to wash out the excess. It will take a few passes with a sponge to remove the entire residue from the tile surfaces. Let tiles stand for 24 hours.
For help with this and any other DIY project, come see the experts at Action Rental & Sales in Kingsport, Tennessee. We have the tools and expertise to help you finish your “To-Do” List. Stop by our showroom at 1861 Eastman Road, visit our website or call us at 423-246-5181 for a complete listing of products and pricing.


