Tag Archives: construction

Build a Deck!

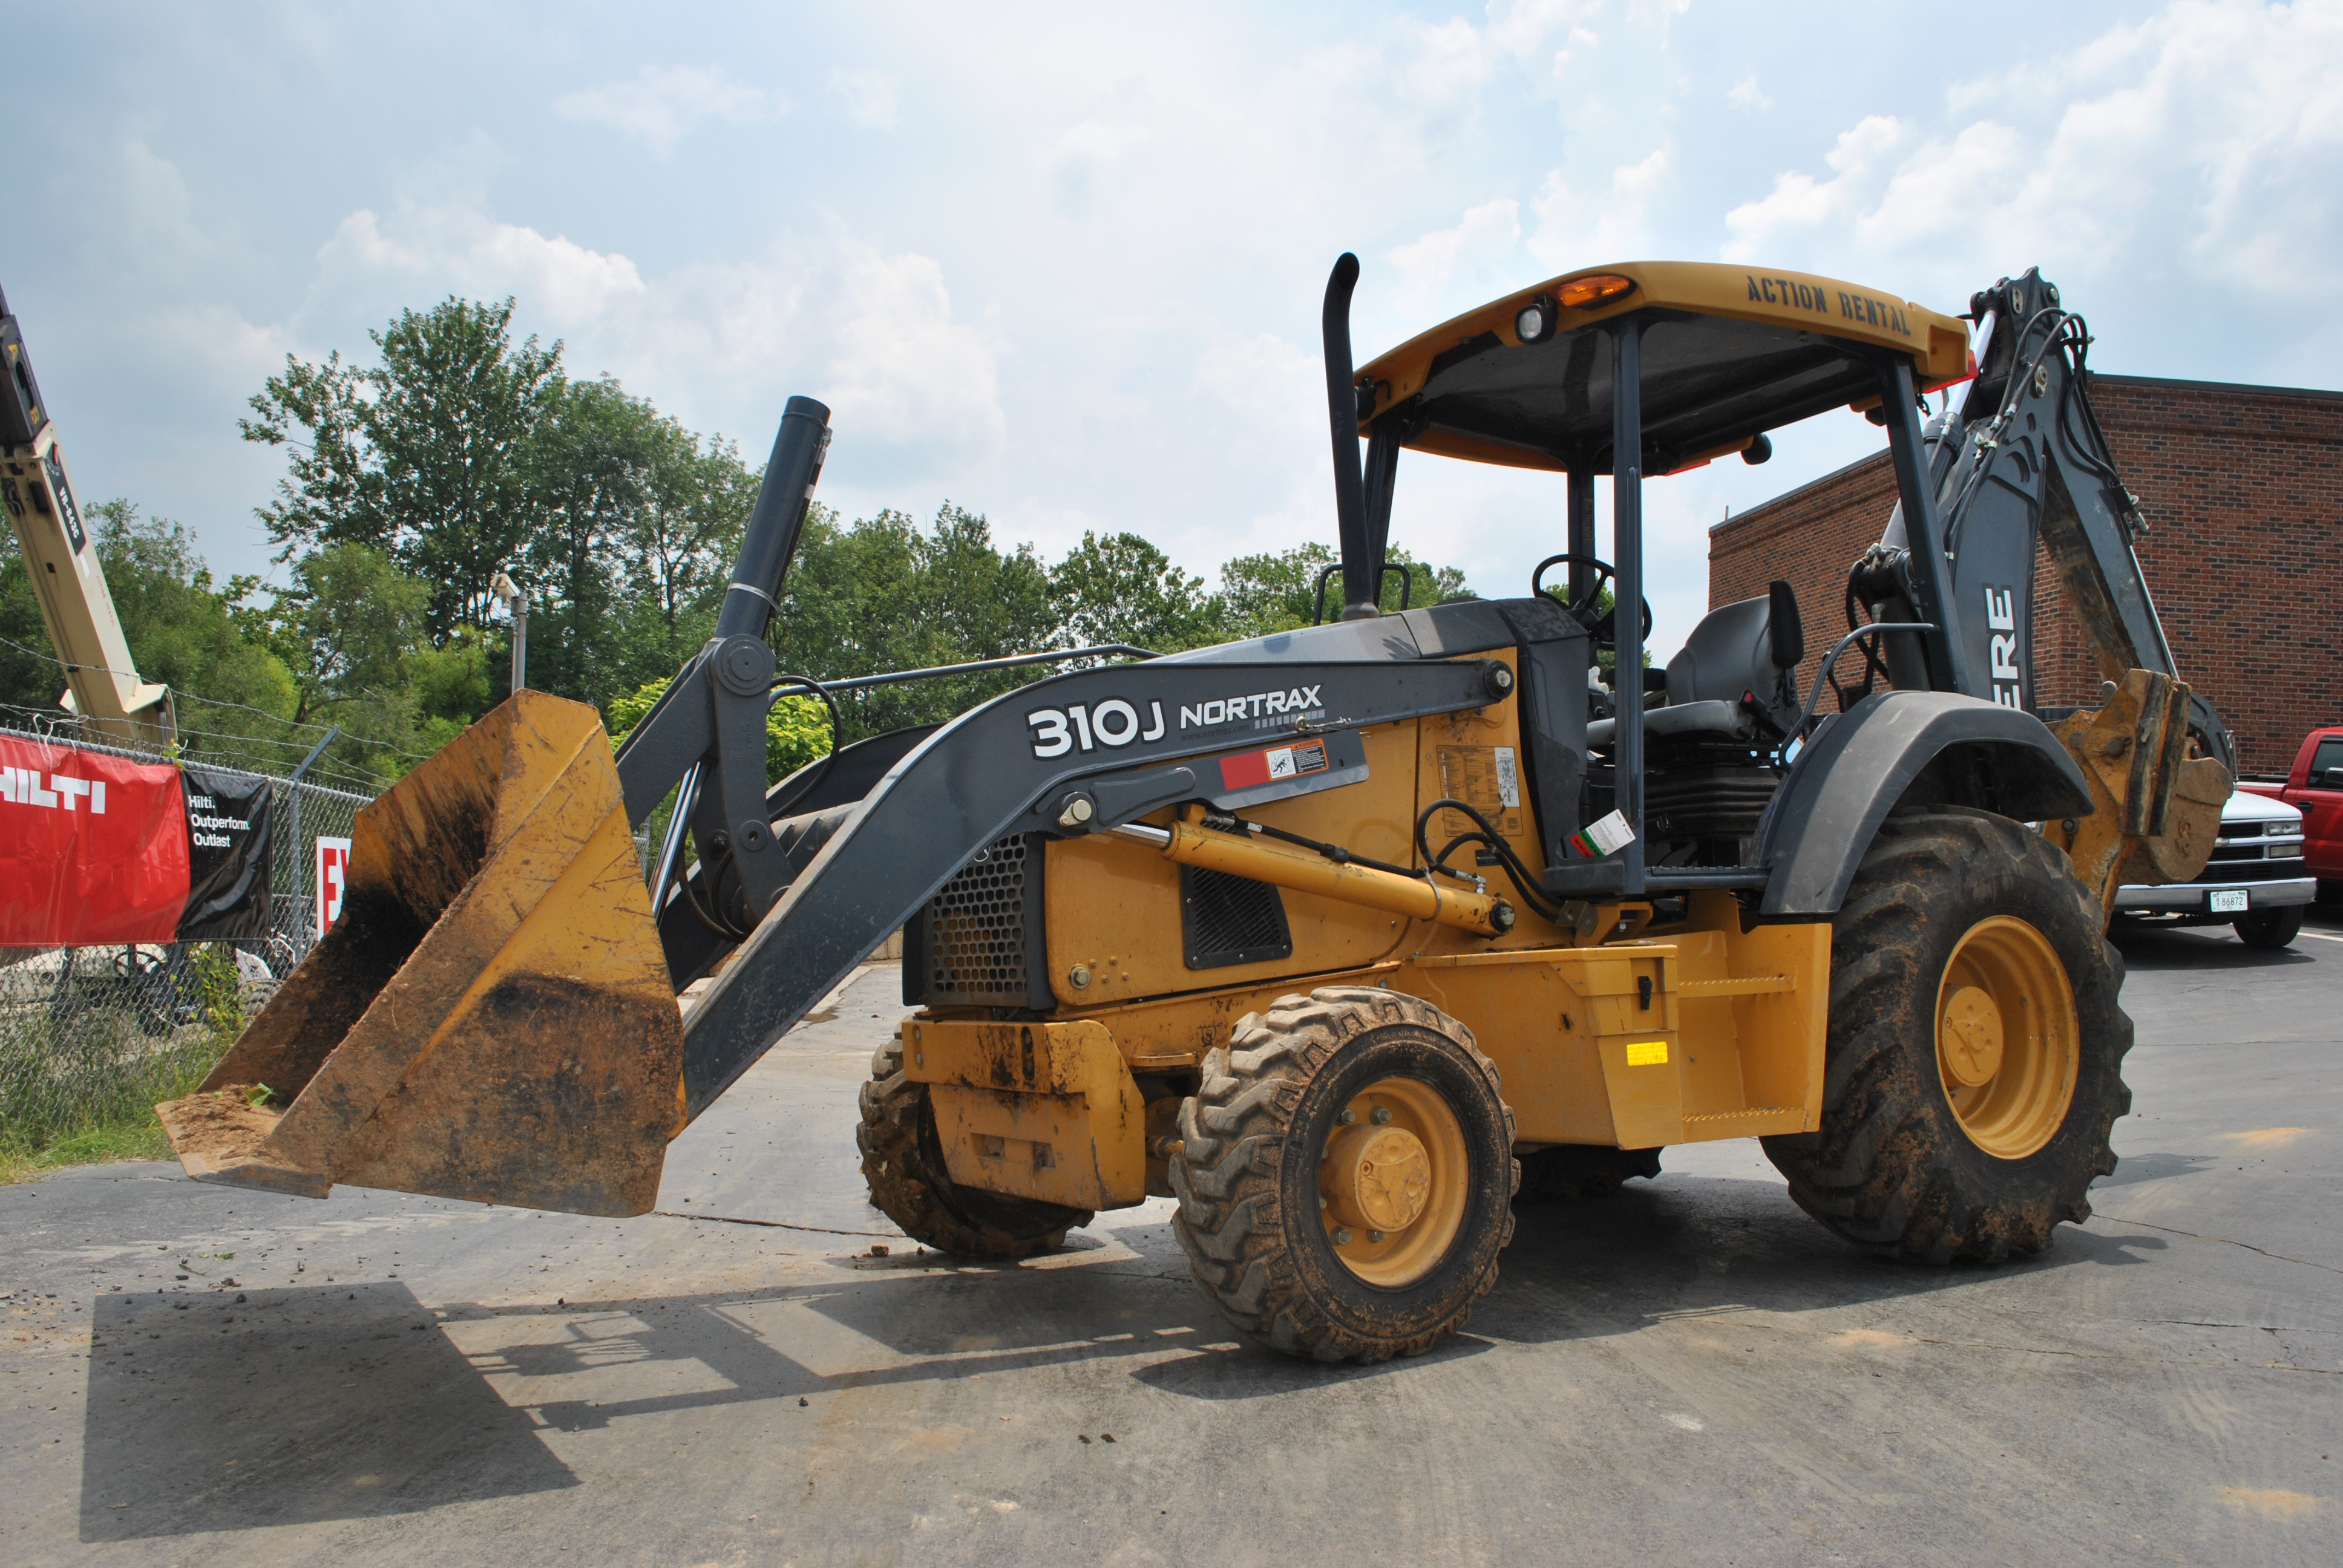
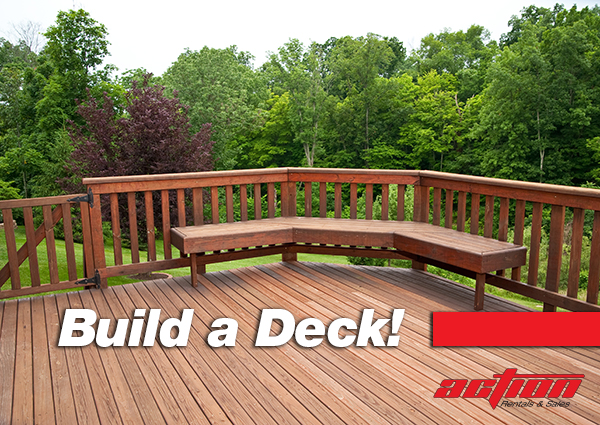
It’s almost summertime, which means more evenings will be spent taking in those mild summer nights. Enjoy those evenings on a brand-new deck…and what’s more, build that brand-new deck yourself with the help of equipment rentals from Action Rentals!

Give your backyard a makeover. Create an “outdoor room” that is a great place for entertaining friends or letting your toddlers play.

Not only do you need to select the structural materials, and the decking type, there are post options and caps that can add elegance and personalize your deck.

deck_53441800

Follow these tips to ensure the smoothest building process:

  1. Foundations needs to be deeper the higher the deck is off the ground.
  2. For ground-level decking, go below the frost line.
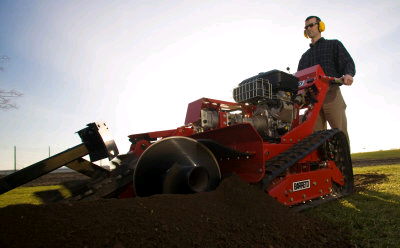
  3. Post holes should be at least 24 inches deep. (Don’t forget the post-hole digger).
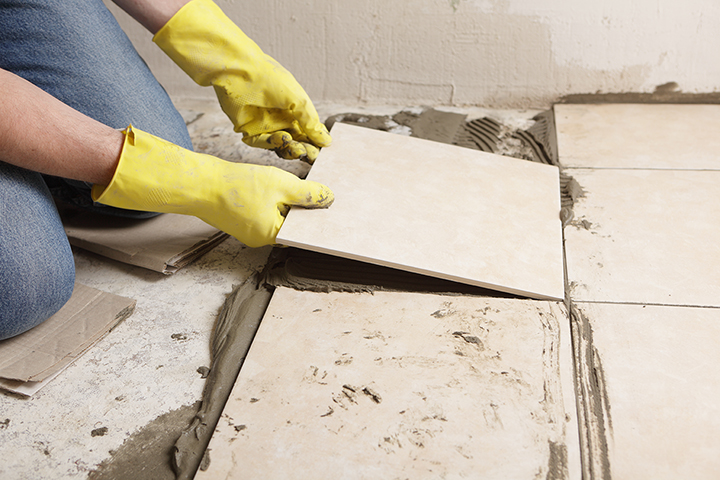
  4. Deck shape can be easily adjusted to any requirement with minimal woodworking skills.
  5. Decking boards can be straight, run diagonally, or you can create more complex chevron or square designs.
  6. Trim edges with a power saw or jig saw to create curves. You may need to use double joists to enable you to fix more complex designs.
  7. Newel posts need to be at least 36 inches high and support the balustrade at least every 6 feet. Railings are mandatory if the deck is over 20 inches off the ground.
  8. The frame for raised decking is constructed from pressure-treated lumber.
  9. On a concrete base, posts can be adhered to the ground using bolt-down post brackets.
  10. Safety first! A raised deck requires a handrail.

For help with this and any other DIY project, come see the experts at Action Rental & Sales in Kingsport, Tennessee. We have the tools and expertise to help you finish your “To-Do” List. Stop by our showroom at 1861 Eastman Road, visit our website or call us at 423-246-5181 for a complete listing of products and pricing.

New Additions to the Action Fleet!

Spring is here and with it comes some new equipment for the Action Rentals Team!

The newest addition to our forklift crew is the 5519 Genie Forklift! With easy maneuverability and convenience of service, the 5519 Genie Forklift comes with a variety of rugged attachments accompanied by compact telehandlers to meet the needs of most construction, masonry, landscape and farming applications.

46320

A new member of our work platform group is the NiftyLift SD50. The SD50 combines the best of many self-propelled and trailer mounted ranges. With impressive reach capabilities, yet still maintaining a lightweight drivable base, the SD50 is a great fit for a wide range of projects and varying site conditions.

dr_95a18744b22f30e0f2355d88c3b2f89d

Need excavation? Check out our new 35N Mini Excavator. With an impressive 26.5 horsepower water-cooled diesel engine with variable displacement piston pumps and two speed travel, the 35N is a great fit for your next project. The 35N comes standard with an A-F quick-change valve, a 10’ 4” digging depth, and an open-cab. For your next excavation project, consider the 35N Mini Excavator.

35N

For all of your project needs, come see the experts at Action Rental & Sales in Kingsport, Tennessee. We have the tools and expertise to help you finish your “To-Do” List. Stop by our showroom at 1861 Eastman Road, visit our website or call us at 423-246-5181 for a complete listing of products and pricing.

Project Safety and You!

Whether you are at home or on a job site, safety is of utmost importance! The entire Action Rentals team takes safety seriously and we encourage our clients to as well. Here are some handy tips to help you stay safe during your projects!

Project-Safety

–     If your project involves using chemicals, make sure to read the labels and FOLLOW all manufacturer instructions and warning labels.

–     Before you dig, call the local utilities to make sure that you will not be digging where you could get hurt.

–     Protect your vision! Safety glasses or dust glasses will help protect against flying particles and chemical goggles will protect against exposure to fertilizers and pesticides

–     Be observant. Be aware of anything that could harm you or your family (power lines, water lines, trees, etc).

–     Check your lawn for any debris prior to mowing.

–     Ensure that any tools you keep at home are in good working condition. Damaged tools should be repaired or replaced. If it is a tool that you don’t use frequently, check and see if we carry it and that way you will know it is always in good condition.

–     In any project, use common sense. If something feels dangerous or potentially harmful, then it probably is.

We are more than happy to provide any knowledge or experience we have to make sure that your project is done with a minimum of hassle and a maximum amount of safety! We look forward to helping you with your next home or business project! Check out our website or call us at 423-246-5181

DIY – How to Install A Ceramic Tile Floor

TILES_44589280

If you are like many, this New Year has brought you a new list of “To-Do” items. If installing a ceramic tile floor is one of those “To-Do’s” here is a list of instructions on how to do it! At Action Rental & Sales Equipment Division, we have the tools you need to turn your next “To-Do” item into a “Done” item!

Step 1: Before you begin, get a general sense of how level the floor is. If you see any deep holes or dents, it might be necessary to prepare some quick-drying, self-leveling cement from a hardware store. Pour the cement mixture into any deep trenches and let it sit for at least 24 hours.

Step 2: Once the floor is level, chip away any old mortar and then thoroughly clean the surface. To make sure the surface is truly clean, you will probably need to do this more than once. Remember, the less dirt on the floor, the easier it will be for the cement to form a strong seal between the tile and ground. Next, remove any trim or other fixtures around the wall at floor level. Make sure to check and see if you have enough clearance by stacking two tiles on top of each other near any doors.

Step 3: Now that the surface is clean, lay out and diagram exactly how you want the tile to be placed. Measure the dimensions of the room, and pick a spot in the center to start. Use blue chalk to mark a cross pattern into the floor. Work your way out from the center. This will save you time so that you are using mostly whole tiles and only have to cut the ones that will be placed along the wall edges.

Step 4: You will want to get the mortar to a peanut-butter like consistency. You can do this by adding water. Helpful Hint – prepare small batches as you go as the mixture hardens as time passes. An easy way to do this is by attaching a paint-mixing bit to an electric drill. Use a notched floor trowel to scoop out a glob and spread it evenly across the floor using the flat side. You don’t need a lot but enough to evenly coat the floor. Once the area is covered, flip the trowel and use the grooved side to spread it at a 45-degree angle.

Step 5: Spread tile adhesive on the back-side of the tile in a fairly thin layer. This application, along with the trenches on the floor, will ensure a permanent and strong bond between tile and ground. Gently place (do not slide) the tiles. Use spacers to maintain constant grout lines if you prefer, but it is also fine just to eyeball it. Repeat until all whole tiles have been placed. Once you hit a wall or a space that requires a cut tile, simply measure out the dimensions and use a tile cutter to form the proper shape.

Step 6: Once the floor is completely covered, mix the grout to a frozen-yogurt-type consistency, keeping in mind that small amounts go a long way. You want the grout to fall into the spaces you’ve left between the tiles yet, still be easy to spread. Next, place some of the grout on the tiles and use a grout float to spread it evenly around. Make sure there aren’t gaps or bubbles. Scrape off any excess by wiping diagonally across the tiles. Follow the scraping with a wet sponge. Helpful Hint – Have a bucket filled with water on hand to wash out the excess. It will take a few passes with a sponge to remove the entire residue from the tile surfaces. Let tiles stand for 24 hours.

For help with this and any other DIY project, come see the experts at Action Rental & Sales in Kingsport, Tennessee. We have the tools and expertise to help you finish your “To-Do” List. Stop by our showroom at 1861 Eastman Road, visit our website  or call us at 423-246-5181 for a complete listing of products and pricing.


How to Use a Trencher

41569

First, turn the fuel switch on and give it a little bit of choke. Next, turn on the key switch and lower the throttle a bit. Once that is done, shift the transmission into neutral and ensure that the hydraulic pump is off. When trenching, the wheels will need to be locked in place. To move the unit, disengage the wheels. Once the unit is running, give it some gas, activate the hydraulic pump and pop the transmission into forward.

Once you are located where you want to start digging, make sure to engage the wheels so they work together. Turn the throttle up, start the chain and auger spinning and then lower the bar into the earth. Next, lower it to the depth you want. Remember, getting it to the depth you want can take a few moments, so be patient. Once you are at the depth you want, the auger will be pushing dirt off to the side. You can control the speed by using the transmission controls.

Now you are ready to move! Once your bar is all the way down, shift your machine into reverse and start moving backward. Make sure that you are NOT in front of your machine while it is operating as it throws dirt and rocks in a forward direction.

As always, make sure you call 811 before you dig!

For trenchers and all your other light construction needs, come see the experts at Action Rental & Sales in Kingsport, Tennessee. Stop by our showroom at 1861 Eastman Road, visit our website or call us at 423-246-5181.

Top Reasons to Rent Equipment for Construction

DSC_0004

Getting ready to work on a project? Here are some top reasons to rent equipment!

1. Someone else coordinates, and pays for, the warranty, maintenance, and upkeep.

2. You get exactly what you need, rather than “making do” with something else.

3. You save money by trimming equipment transportation expenses from job to job.

4. You can avoid personal property taxes, depreciation issues, and license and registration costs for equipment.

5. Supplement your basic equipment with specific rental machinery ONLY when you need it. This will save you money in the long run, extend the life of your fleet and allow you to compete for more jobs.

6. You don’t have to pay to store what you are renting!

7. No worries about your current model becoming obsolete or missing the latest safety features.

8. You eliminate the cost (and hassle) of trying to sell or dispose of old equipment.

9. Free up capital for other needs!

10. Rental stores have the right equipment and accessories at a more cost effective rate than buying.

For even more reasons to rent versus buy, come by and talk with our experts! Visit our showroom at 1861 North Eastman Road, Kingsport, Tennessee or visit us online or give us a call at 423-246-5181. Let us help you complete your project on time and save you money!